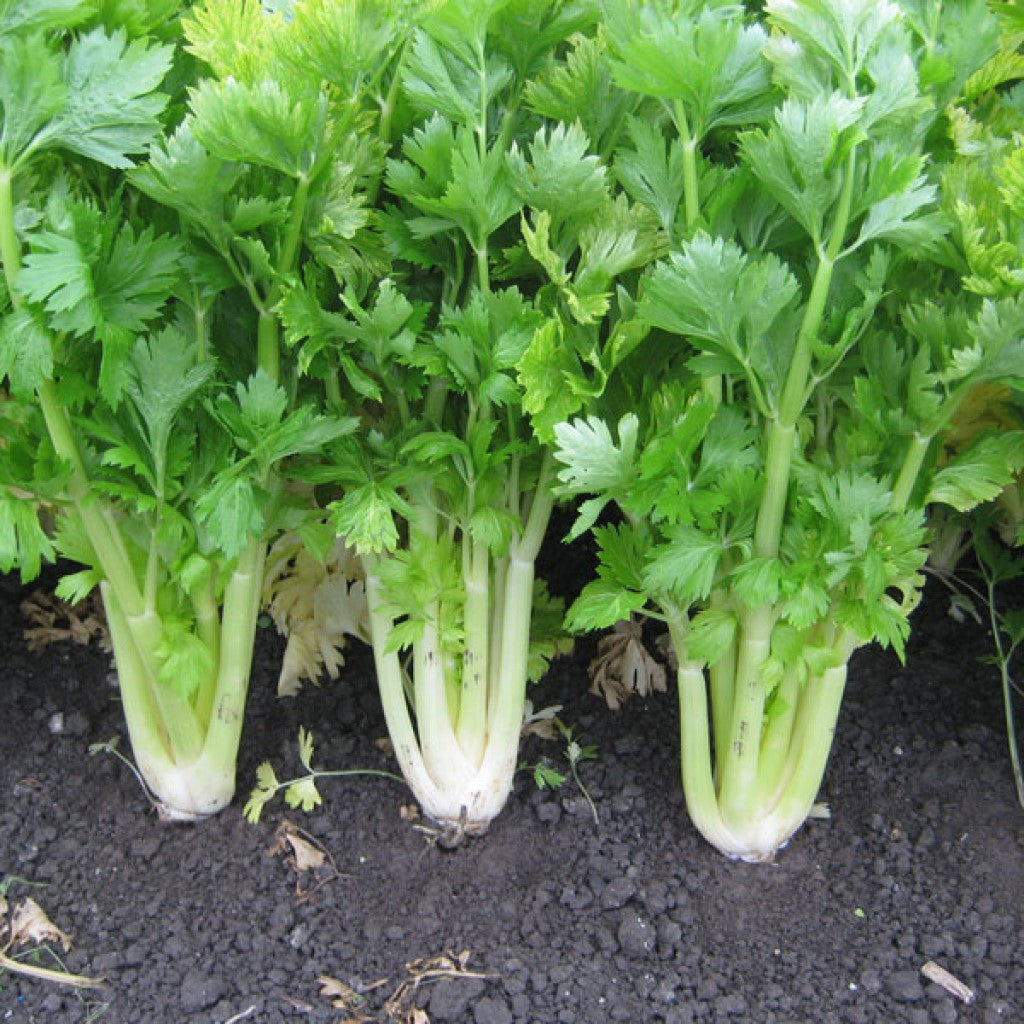
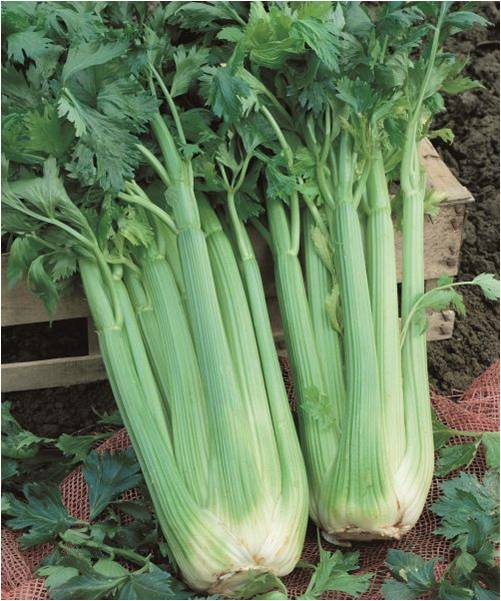
Growing Self-Blanching Celery organically from open-pollinated seeds is a rewarding process that requires careful attention to soil health, moisture, and pest management. This celery variety is known for its naturally pale, tender stalks, which do not require the traditional blanching process.
The key to success is maintaining optimal growing conditions and using sustainable, organic practices to ensure healthy plants and a bountiful harvest. Here’s a detailed guide to growing celery organically:
1. Choosing the Right Location and Timing
- Climate: Celery thrives in cool weather and prefers temperatures between 55°F and 70°F (13°C–21°C). It does not do well in hot or dry conditions. Planting in the early spring (before the last frost) or in the fall (after the heat of summer) works best.
- Sunlight: Celery requires full sun (at least 6 hours of direct sunlight a day) but may appreciate some afternoon shade, especially in hotter regions.
- Growing Season: Celery has a long growing season, typically around 4-5 months. Starting seeds indoors early is essential, especially in regions with a short growing season.
2. Preparing the Soil
- Soil Type: Celery prefers loamy, well-drained soil that retains moisture while still allowing for proper drainage. The soil should be rich in organic matter and have a slightly acidic to neutral pH (pH 6.0 to 7.0).
- Soil Preparation:
- Amend the Soil: Incorporate organic compost, well-rotted manure, or vermicompost into the soil to improve fertility and structure. This will help keep the soil rich in nutrients and improve water retention.
- Mulching: Organic mulching (e.g., straw, grass clippings, or leaves) helps retain soil moisture and prevents weeds. It also improves soil texture as it decomposes.
3. Starting Seeds Indoors
Celery has a long germination period, so it is essential to start seeds indoors 6-8 weeks before the last expected frost date.
- Seed Starting:
- Soak the Seeds: Celery Self Blanching open pollinated seeds are tiny and have a tough outer coating. To help with germination, soak the seeds in warm water for about 12 hours before planting.
- Containers: Use seed trays or small pots with good drainage. Fill them with organic seed-starting mix (a fine-textured mix of peat, perlite, and vermiculite).
- Sowing the Seeds: Sprinkle the Celery Self Blanching open pollinated seeds evenly over the surface and press them lightly into the soil (celery seeds need light to germinate, so do not bury them deeply). Mist gently with water to moisten the surface.
- Temperature: Keep the seed trays in a warm location (ideally around 70°F or 21°C). Celery seeds generally take 2-3 weeks to germinate.
- Light: Once the seeds have germinated, ensure they get 12-16 hours of light per day. A grow light can be very helpful to provide consistent light if natural sunlight is insufficient.
4. Transplanting Seedlings Outdoors
- Timing: Celery seedlings should be hardened off and transplanted outdoors after the last frost when the soil temperature is at least 50°F (10°C). Celery is very sensitive to frost, so make sure the outdoor temperatures are consistently mild.
- Spacing: When transplanting, space the celery seedlings about 8-12 inches apart in rows that are 18-24 inches apart. This allows enough space for the plants to grow and develop their stalks.
- Planting Depth: Set the seedlings at the same depth as they were in the containers, making sure to plant them deeply enough for good root development.
5. Soil and Watering Requirements
- Moisture: Celery requires consistent moisture throughout its growing season. It is especially important during the early stages of growth and during the development of the stalks. Keep the soil moist but not waterlogged.
- Drip irrigation or soaker hoses are ideal for providing consistent moisture without wetting the leaves, which helps prevent fungal diseases.
- Mulch: Applying organic mulch around the plants helps conserve moisture and prevent weeds. It also keeps the soil temperature stable.
- Watering Tips:
- Water deeply and regularly, especially in the summer months when the weather is hot.
- Avoid overhead watering, as wet leaves can lead to disease.
6. Fertilization
- Organic Fertilizers: Celery is a heavy feeder and benefits from organic fertilizers to promote healthy growth. Some good options include:
- Compost tea or liquid seaweed: These provide a steady supply of nutrients without overwhelming the plants.
- Compost or well-rotted manure: Apply these around the base of the plants as a top dressing.
- Fish emulsion: An excellent source of nitrogen and micronutrients.
- Mulch with Compost: As your plants grow, top-dress them with a layer of compost to improve soil fertility and retain moisture.
7. Pest and Disease Control (Organic Methods)
Celery is susceptible to a number of pests and diseases, but organic methods can help manage them.
- Common Pests:
- Aphids: These small insects can damage celery leaves. Use neem oil or insecticidal soap to control them.
- Slugs and Snails: These pests love the tender leaves of celery. Use diatomaceous earth or beer traps to control them organically.
- Cutworms: They may damage young seedlings. To prevent this, place a collar around the base of each seedling or use row covers.
- Diseases:
- Leaf Spot and Blight: These fungal diseases can be managed by spacing plants properly to ensure good air circulation. Avoid watering overhead, and remove affected leaves immediately.
- Downy Mildew: This can be controlled with copper-based fungicides or neem oil.
- Powdery Mildew: Can be prevented with regular airflow and by ensuring the plants are not overcrowded.
- Rot: To prevent root rot, ensure that the soil is well-draining and that the plants are not waterlogged.
8. Maintaining Growth and Care
- Support: As the celery grows, you may need to support the plants with stakes to keep them upright and prevent them from falling over.
- Weeding: Keep the planting area weed-free to reduce competition for water and nutrients. Use organic mulch to suppress weeds.
- Blanching (Optional): While Self-Blanching celery doesn’t require wrapping, you may choose to lightly hill up soil around the base of the stalks as they grow to encourage more tender, pale stalks.
9. Harvesting
- When to Harvest: Celery is ready to harvest when the stalks are thick, crisp, and well-formed. The outer stalks can be harvested first, while the inner stalks will continue to grow.
- Cutting: Use a sharp knife to cut the outer stalks at the base. For a complete harvest, you can remove the whole plant.
- Storage: Celery can be stored in the refrigerator for up to 2-3 weeks. If you want to preserve it for longer periods, you can blanch and freeze the stalks.
Conclusion:
Growing Self-Blanching Celery organically requires attention to soil preparation, consistent moisture, and pest management. By using organic fertilizers, mulching, and maintaining proper spacing, you can grow healthy, flavorful celery without the need for synthetic chemicals. It may take some time and patience due to celery’s long growing season, but the results are well worth the effort, especially when you harvest tender, flavorful stalks for your kitchen!


Reviews
There are no reviews yet.