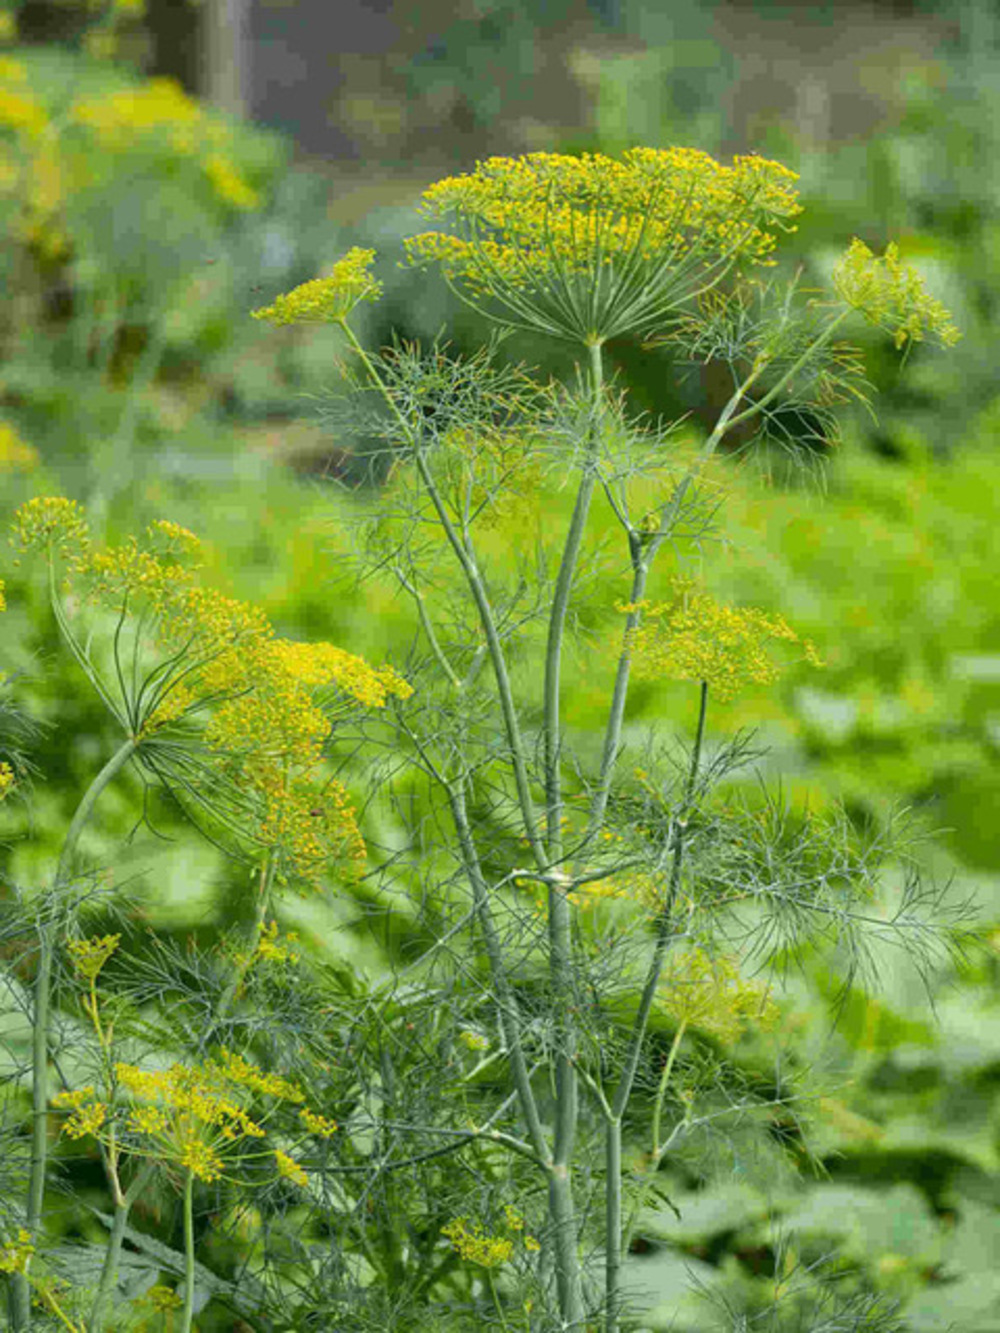
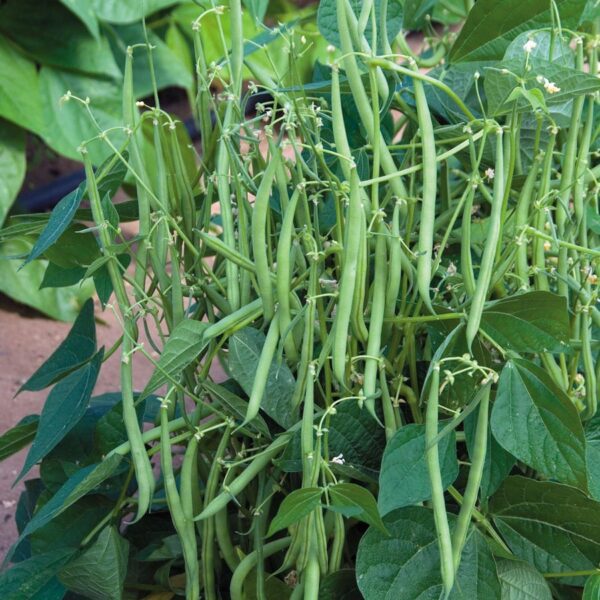
Dill Aromatic Herb Gardening Seeds
Growing dill (Anethum graveolens) organically from seeds is a rewarding experience, as this aromatic herb is not only great for culinary uses but also attracts beneficial insects to the garden.
Here’s a step-by-step guide to growing dill organically:
1. Choose the Right Location
- Sunlight: Dill thrives in full sun and requires at least 6-8 hours of direct sunlight per day for optimal growth. It can tolerate some light shade, but the growth will be slower and the flavor may be less intense.
- Soil: Dill prefers well-drained, light, loamy soil rich in organic matter. The soil should be slightly alkaline to neutral with a pH of 6.0 to 7.5. It’s essential that the soil doesn’t stay too wet, as dill is prone to root rot in overly soggy conditions.
- Space: Dill grows to a height of 3-4 feet, so ensure there is enough space for the plant to spread. If you are growing multiple dill plants, space them about 12-18 inches apart.
2. Prepare the Soil
- Soil Enrichment: Incorporate compost or well-rotted manure into the soil to enrich its fertility. Organic matter helps improve soil structure, water retention, and nutrient availability.
- Tillage: Loosen the soil to a depth of 3-4 inches to promote good root growth. Dill has a taproot, so it benefits from soil that is not compacted.
3. Planting Dill Seeds
- Timing: Plant Dill Aromatic Herb Gardening Seeds early in the spring after the last frost, or in late summer to fall for a fall harvest. Dill prefers cooler temperatures, ideally between 60-70°F (15-21°C). If you are growing in a climate with hot summers, planting in the cooler months is best.
- Sowing Dill Aromatic Herb Gardening Seeds: Dill is typically direct-sown outdoors. Plant the seeds 1/4 to 1/2 inch deep into the soil. Space the seeds about 12 inches apart in rows. You can scatter the seeds lightly in a row and then thin them out later.
- Germination: Dill seeds generally take 7-14 days to germinate. The seeds need consistent moisture during the germination period, so water gently.
4. Watering and Moisture Management
- Watering: Dill needs consistent moisture, but it doesn’t like to sit in waterlogged soil. Keep the soil moderately moist, especially during dry periods. Water at the base of the plant to avoid wetting the foliage, which can promote fungal diseases.
- Mulching: Applying organic mulch around the plants helps retain moisture, suppress weeds, and keep the soil cool during hot weather.
5. Fertilization
- Organic Fertilizers: Dill is not a heavy feeder, but it benefits from regular applications of organic compost or compost tea. If the soil is nutrient-poor, you can apply a light dose of balanced organic fertilizer (such as fish emulsion or seaweed extract) once every 4-6 weeks.
- Avoid Excessive Nitrogen: Dill does not require a lot of nitrogen, and excessive nitrogen can lead to lush foliageat the expense of flavor and essential oil production.
6. Pruning and Maintenance
- Thin Seedlings: After the Dill Aromatic Herb Gardening Seeds germinate, thin the seedlings to about 12 inches apart to allow for adequate airflow and space for the plants to grow.
- Pruning: Dill doesn’t require much pruning, but you can pinch off the top growth to encourage bushier growth. Be careful not to disturb the taproot, as dill is sensitive to root disturbance.
- Support: Dill can become top-heavy, especially as it grows taller. If needed, provide light support using small stakes or trellises to keep the plant upright and prevent it from falling over.
7. Pest and Disease Control
- Pests: Dill generally has few pest problems, but it can attract aphids, caterpillars, and spider mites. Use natural pest control methods such as:
- Neem oil or insecticidal soap for aphids and soft-bodied insects.
- Hand-pick caterpillars off the plants or use Bt (Bacillus thuringiensis) to control caterpillars organically.
- Predatory insects such as ladybugs can help control aphid populations.
- Diseases: Dill is prone to fungal diseases like powdery mildew in humid conditions. Ensure good air circulationby spacing the plants properly. Avoid overhead watering, as wet foliage can encourage fungal growth.
- Crop Rotation: To minimize disease and pest buildup, rotate dill with other herbs or plants every season.
8. Harvesting Dill
- When to Harvest: Dill is typically ready to harvest about 40-60 days after sowing, depending on the variety. You can start harvesting when the plants are 6-12 inches tall.
- Leaf Harvesting: To harvest dill leaves, simply snip off the outer leaves with scissors or garden shears. For continuous growth, avoid cutting the central growing tips and leave the plant’s crown intact.
- Seed Harvesting: Dill will eventually flower, producing yellow umbels that turn into seeds. Allow the flowers to mature and dry on the plant. When the seed heads turn brown and dry, cut the stems and place them in a paper bag to finish drying. Shake the bag to release the seeds. Store the seeds in a cool, dry place for future planting.
9. Companion Planting
- Good Companions: Dill is a great companion plant for cabbage, tomatoes, onions, and lettuce. It attracts beneficial insects like ladybugs and parasitic wasps, which help control pests.
- Avoid Planting with: Dill can inhibit the growth of carrots and other umbelliferous plants (plants in the carrot family, such as celery), so avoid planting them together.
10. Seed Saving
- Saving Dill Aromatic Herb Gardening Seeds: If you wish to save dill seeds for next season, let the flowers fully mature and dry on the plant. Once the seed heads are dry and brown, collect the seeds by shaking or rubbing them off the stems. Dill seeds have a strong aroma, so be sure to store them in a well-sealed container in a cool, dry place to preserve their flavor and viability.


Reviews
There are no reviews yet.