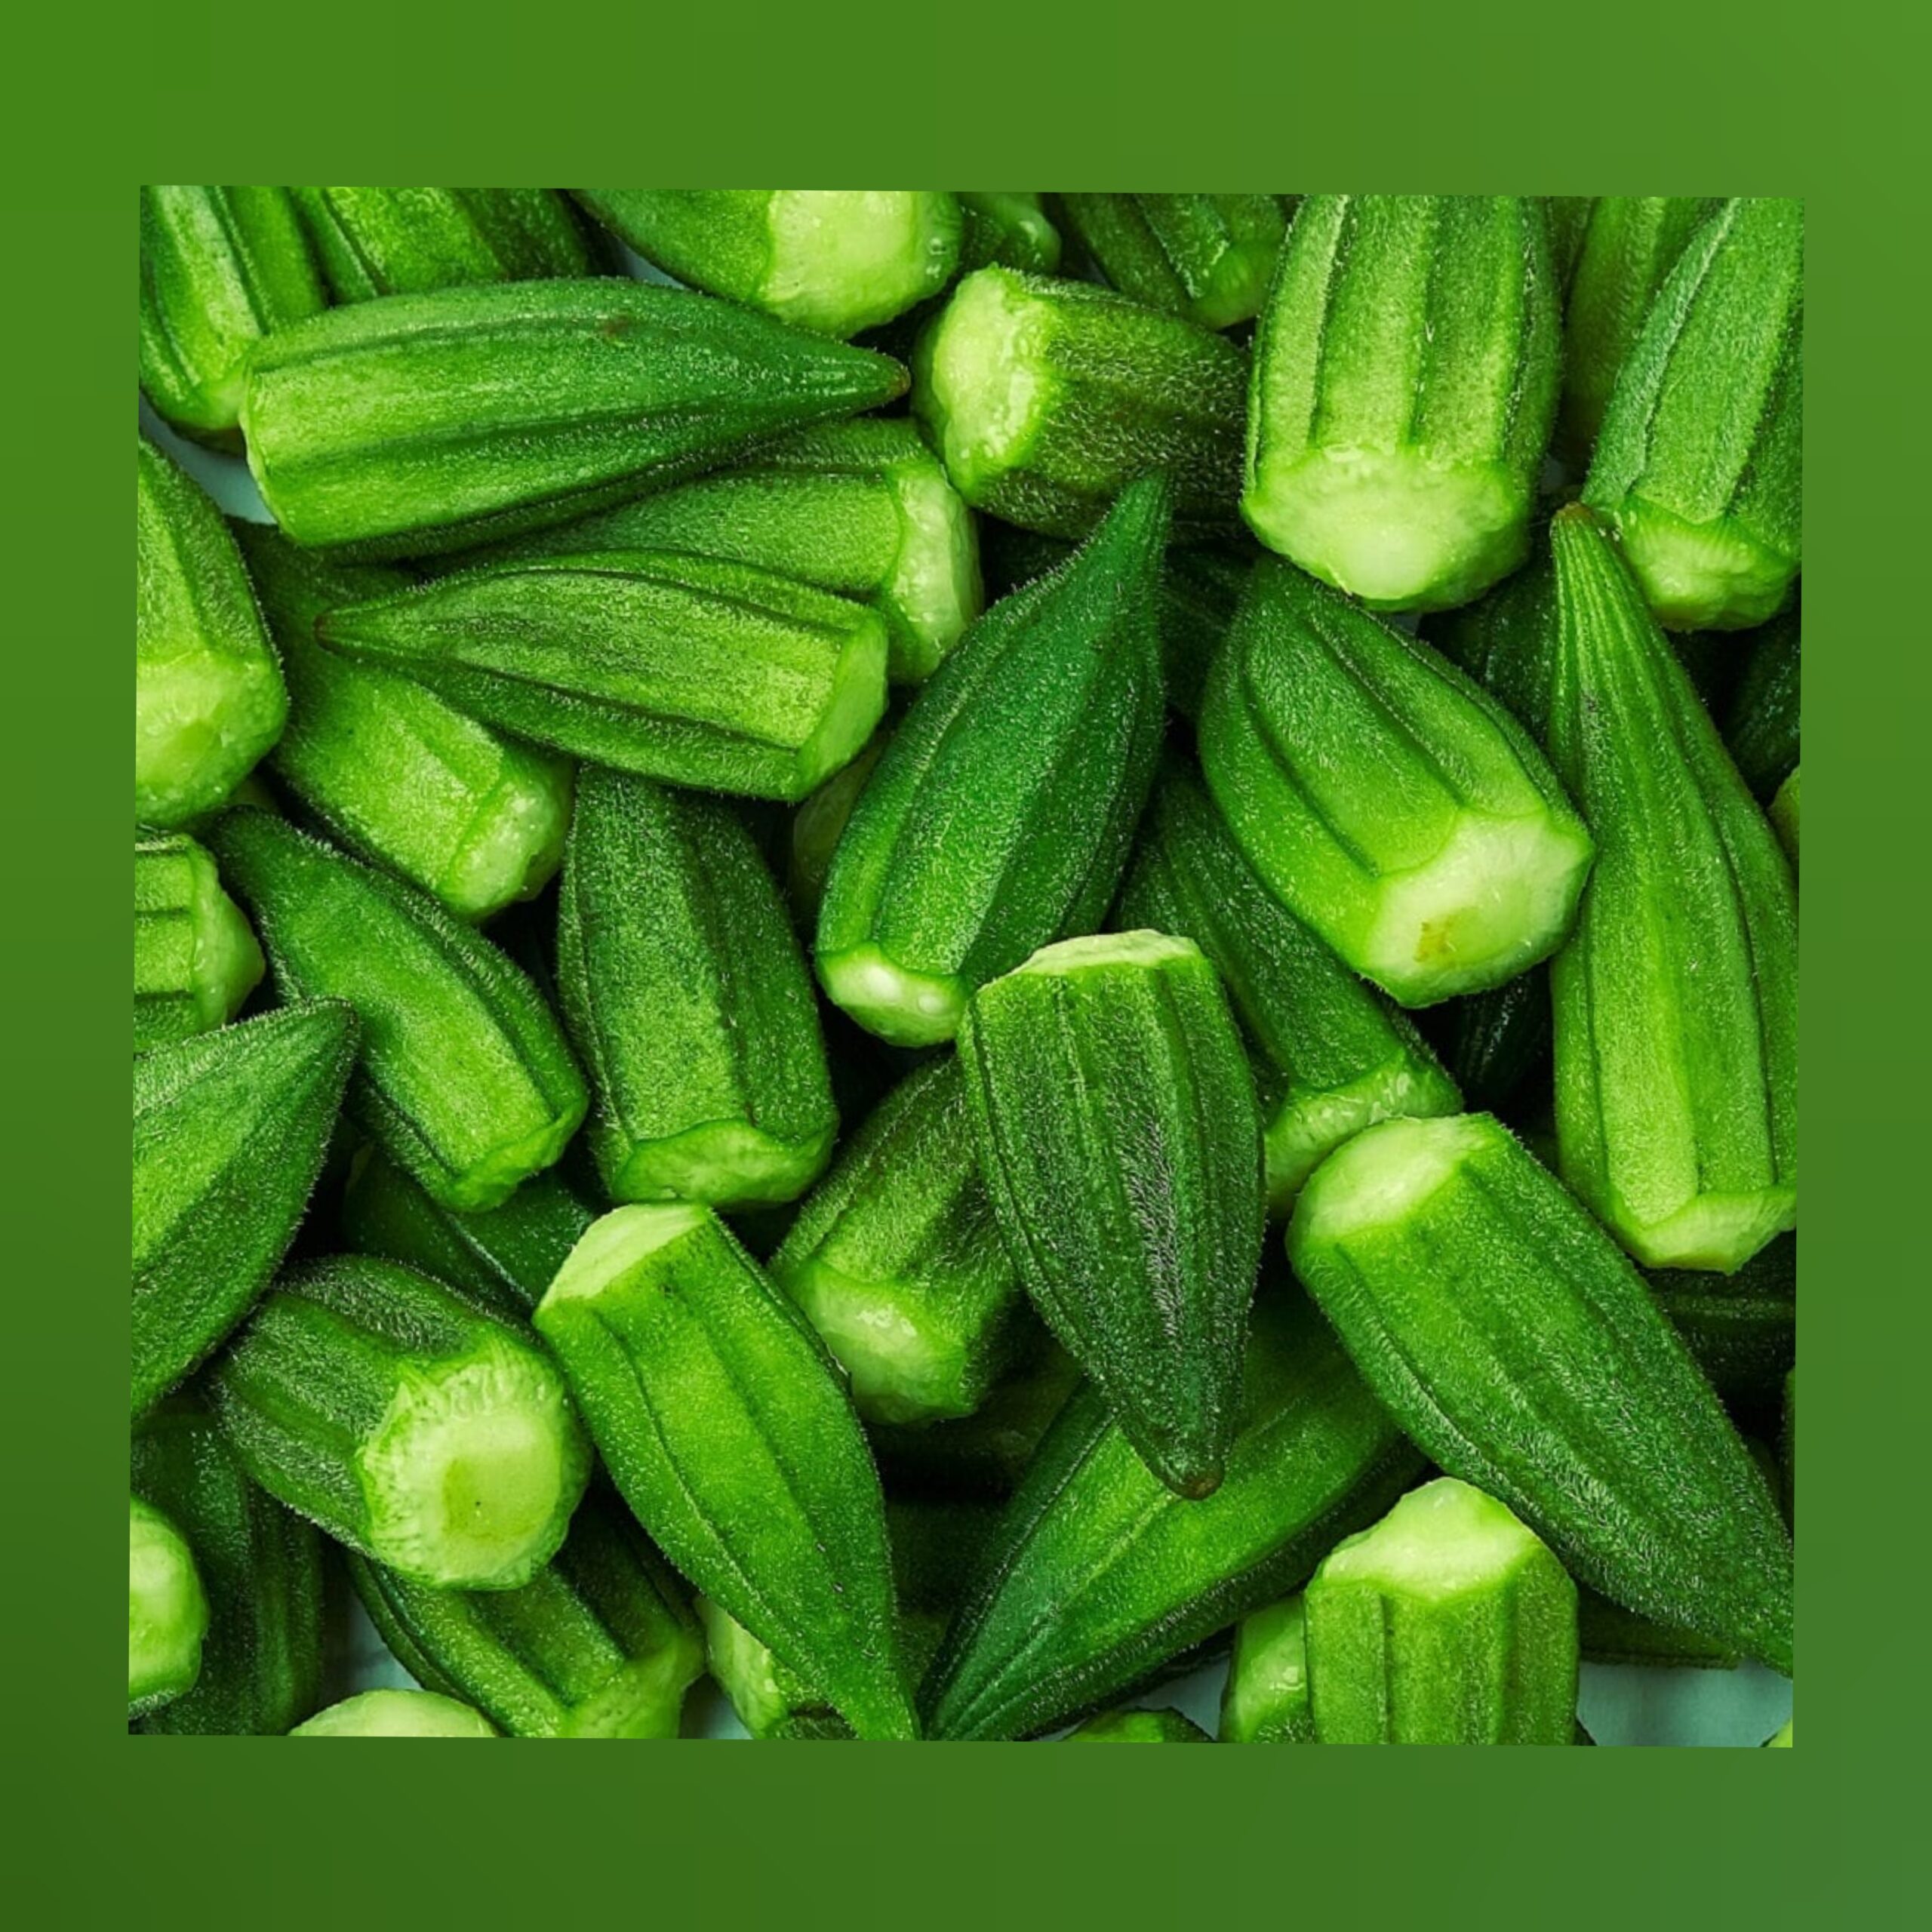
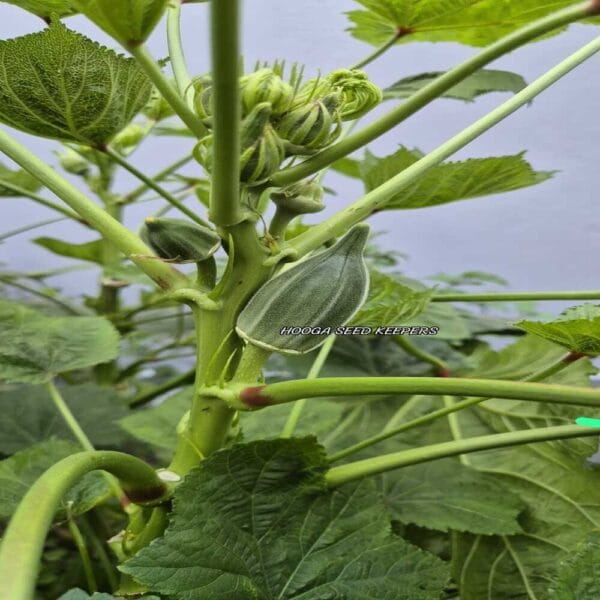
Short Green Okra vegetable seeds
Short Green Okra vegetable seeds
Quantity: 45 seeds
- Location: Full sun, well-draining soil, pH 6.0-7.5.
- Planting: Soak seeds for 6-8 hours before planting. Plant seeds 1 inch deep, spaced 10-12 inches apart.
- Germination: Soil temperature should be 70-85°F for optimal germination (7-14 days).
- Watering: Water regularly but ensure good drainage to avoid waterlogging.
- Thinning: Thin plants to 10-12 inches apart once seedlings develop their first true leaves.
- Mulching: Use organic mulch to retain moisture and control weeds.
- Fertilizing: Use compost or organic fertilizers as needed.
- Harvesting: Harvest pods when they are 3-4 inches long and tender, every 2-3 days.
- Preservation: Freeze or dry the okra to preserve it for later use.
By following these steps, you’ll be able to successfully grow short green okra organically in your garden, enjoying fresh, tender pods throughout
Short Green Okra vegetable seeds
Growing short green okra (Abelmoschus esculentus) organically is similar to growing regular okra, but with the added benefit that short varieties tend to be more compact and easier to harvest, making them ideal for small spaces or containers. Short green okra still requires the warm growing conditions and basic care that all okra varieties need. Here’s a step-by-step guide to growing short green okra organically from seeds:
1. Choose the Right Location
- Sunlight: Okra needs full sun for healthy growth, meaning at least 6-8 hours of direct sunlight each day. A sunny location is essential for strong, productive plants.
- Temperature: Okra is a heat-loving plant and thrives in warm temperatures. The ideal temperature range for okra is 75-95°F (24-35°C). Plant okra only after the last frost when the soil is consistently warm, ideally around 65°F (18°C).
2. Prepare the Soil
- Soil Type: Okra prefers well-draining, loamy soil. If your soil is clayey or compacted, amend it with organic matter, such as compost or well-rotted manure, to improve drainage and fertility.
- Soil pH: Okra grows best in slightly acidic to neutral soil with a pH range of 6.0-7.5. Conduct a soil test to ensure your soil is in the correct pH range.
- Soil Preparation: Before planting, loosen the soil to a depth of 12 inches and incorporate organic compost to enrich the soil and improve moisture retention. This is especially important for organic gardening to maintain soil health and fertility naturally.
3. Soak Okra Seeds
- Soak Seeds: Okra seeds have a hard outer coating that can slow down germination. Soaking the seeds for 6-8 hours(or overnight) in warm water can help soften the seed coat and speed up germination. This is particularly helpful in cooler climates where the soil may not warm up quickly.
4. Planting Okra Seeds
- When to Plant: Plant okra after the last frost date when the soil has warmed to at least 65-70°F (18-21°C). Okra is sensitive to frost and will not grow well in cold conditions.
- Planting Depth: Plant the soaked okra seeds 1 inch deep into the soil. Okra seeds need to be buried at this depth to protect them from drying out and help them establish roots quickly.
- Spacing: Since you’re growing a short variety of okra, space the seeds about 10-12 inches apart in rows. If planting in rows, space the rows about 2-3 feet apart. This provides enough space for the plants to grow and produce pods without overcrowding.
5. Germination and Care
- Germination Temperature: Okra seeds require warm soil to germinate, ideally between 70-85°F (21-29°C). If soil temperatures are too low, germination may be delayed. Ensure the soil is consistently warm, especially during the night.
- Watering: Water the seeds gently after planting and keep the soil moist but not waterlogged during the germination process. Once the seeds germinate (in 7-14 days), you can reduce watering slightly but still ensure the plants receive enough moisture to thrive.
- Mulching: Apply a layer of organic mulch, such as straw or grass clippings, around the plants to help retain moisture, suppress weeds, and regulate soil temperature. Be sure not to pile mulch against the plant stems to prevent rot.
6. Thinning and Spacing
- Thinning: Once the seedlings develop their first true leaves, thin them out to ensure that the plants are spaced 10-12 inches apart. Thinning ensures better air circulation and reduces the risk of fungal diseases.
- Container Growing: If growing in containers, choose a pot that’s at least 18-24 inches deep and wide enough to accommodate the root system. Short okra varieties are perfect for containers since they don’t grow as tall as regular okra.
7. Watering and Fertilizing
- Watering: Okra needs regular watering, especially in hot weather. Keep the soil evenly moist but not waterlogged. Water deeply to encourage deep root growth, but allow the soil to dry out slightly between waterings.
- Fertilizing: Apply organic compost to the soil before planting and, if needed, top-dress the plants with additional compost during the growing season. If the plants show signs of nutrient deficiency, you can supplement with an organic liquid fertilizer, such as fish emulsion or seaweed extract, but avoid over-fertilizing, as this can promote excessive leaf growth at the expense of pod production.
8. Supporting Okra Plants
- Short Okra Varieties: Since you’re growing a short variety of okra, the plants generally don’t need significant support. However, if the plants grow taller than expected or experience strong winds, you may need to stake them lightly or use a cage to keep them upright.
- Spacing: Proper spacing is crucial for good air circulation. Crowded plants can lead to the development of fungal diseases, so ensure the plants have enough room to grow.
9. Pests and Diseases
- Pests: Okra is relatively pest-resistant, but it can attract aphids, spider mites, whiteflies, and Japanese beetles. If you notice pests, treat the plants with neem oil or an organic insecticidal soap. You can also use diatomaceous earth around the base of the plants to deter insects.
- Diseases: Okra can suffer from powdery mildew, root rot, or yellowing leaves if overwatered or overcrowded. Ensure the plants are spaced properly to allow for good airflow, and water at the base of the plant to keep the foliage dry.
- Weeds: Keep the area free of weeds by using organic mulching or by hand weeding. Weeds compete with okra for water and nutrients, so it’s important to control them.
10. Harvesting Okra
- When to Harvest: Okra pods are best harvested when they are 3-4 inches long and tender. At this stage, the pods are easy to cook and taste the best. If you wait too long, the pods become tough and fibrous.
- How to Harvest: Use a sharp pair of scissors or pruning shears to cut the pods off the plant. Wear gloves when harvesting, as okra plants can have small spines on the stems and pods that can irritate the skin.
- Regular Harvesting: Okra produces more pods when it is harvested regularly. Pick the pods every 2-3 days to encourage continuous growth and prevent over-mature pods from reducing the plant’s productivity.
11. Preserving Okra
- Freezing Okra: To preserve your okra, blanch the pods in boiling water for 3-4 minutes. After blanching, immediately plunge the okra into ice water to stop the cooking process. Pat dry and store the okra in freezer bagsor containers for long-term storage.
- Drying Okra: If you prefer, you can slice okra pods and dry them in a dehydrator or by sun-drying. Once dried, store the okra in an airtight container for later use.
12. Companion Planting
- Good Companions: Okra grows well with other heat-loving plants like tomatoes, peppers, eggplant, basil, and herbs. These plants can help attract beneficial insects that will improve pollination and pest control.
- Avoid Planting with: Avoid planting okra near beans or peas, as they may compete for nutrients.
| Weight | 25 g |
|---|---|
| Dimensions | 11 × 8.5 × 11 cm |


Reviews
There are no reviews yet.